
Reviewed · HISTORICAL TOURS
Iconic London Landmark Photography City Tour
London is a camera magnet.
This private photography tour in London is built for one thing, better photos, with coaching that fits what you shoot on, from a DSLR to a smartphone. I like that the guide shows you photo spots you likely would not find on your own, so you get images that feel more personal than postcard copies.
The tradeoff is the cost. At $403.77 per person, it is a premium way to see central sights, and you’ll still cover your own transport fares like the subway or bus.
In This Review
- Key highlights at a glance
- A private London photo walk with real coaching
- Price and value for a 3.5-hour private shoot
- Getting started near Westminster: where your tour begins
- Big Ben framing practice: timing, angles, and keeping it sharp
- London Eye and the Thames: using reflections and depth
- Millennium Bridge: turning a footbridge into a photo lesson
- St Paul’s Cathedral: two quieter corners for better skyline shots
- Tower Bridge: the final big win before you head for coffee
- How the guide coaching works for phones and DSLRs
- The included e-guidebook and why it matters
- What the time plan feels like in real life
- Who this tour is best for
- Quick packing tips so you get more out of the walk
- Should you book this private photography tour?
- FAQ
- How long is the Iconic London Landmark Photography City Tour?
- Is this tour private?
- What does the tour cost?
- What’s included with the tour?
- What should I bring if I use a smartphone instead of a DSLR?
- Where do I meet and where does the tour end?
- Is transport included in the price?
- What is the cancellation policy?
Key highlights at a glance
- Big Ben to Tower Bridge photo flow with planned stops and time to shoot, not just hurry-through sightseeing
- Coaching for DSLR and smartphones, with practical guidance for camera settings
- A provided electronic guidebook so you can keep practicing after the walk
- Tour and group photos included, plus coffee or tea to recharge at the end
- A private tour format, so you get undivided attention from your guide
- Mobile ticket for easier day-of arrival
A private London photo walk with real coaching
Central London is full of obvious photo spots. The trick is knowing how to frame them, how to work with light and shadows, and how to get sharp, well-exposed results instead of blurry “I was there” shots. This tour is designed for that exact problem: it turns famous sights into a structured photo lesson.
You’ll be walking through Westminster, along the Thames area, and finishing near Tower Bridge. It moves at a comfortable pace, and you’ll have short windows at each viewpoint so you can actually try settings, adjust angles, and take multiple takes without feeling rushed.
What makes it feel genuinely useful is the “tailored to you” style of instruction. If you’re using a more professional camera, you can focus on settings and technique. If you’re on a phone, you get hints that translate into better results, not vague advice like “try different angles.”
More kings, plagues and great fires:
Price and value for a 3.5-hour private shoot
At $403.77 per person for about 3 hours 30 minutes, this isn’t a budget stroll. What you are paying for is private attention plus a teaching approach that aims to improve your photos during the walk, not just show you landmarks.
Here’s what you get that helps justify the price for the right kind of traveler:
- Private format, meaning you are not competing with a big group to ask questions or adjust your camera while the tour keeps moving
- Included photo support, including tour and group photos
- An electronic guidebook, so you can keep learning after you’re back home
- Coffee or tea included, which is more than a perk when you’ve been shooting in the wind and changing light
Also, the itinerary stops are listed as admission ticket free, so you are not paying extra entry fees at each photo point. The one thing not included is transport fares, so you’ll want to plan how you’ll get there and back.
If your goal is simply “see Big Ben and take one quick photo,” this will likely feel like overkill. If your goal is to return with photos you actually want to share, this is the kind of splurge that can pay off quickly.
Getting started near Westminster: where your tour begins
Your morning begins at Caffè Nero, Unit B, Portcullis House, 1-2 Bridge St, London SW1A 2JH. The meeting point is a short walk from London Bridge Underground Station (about 10 minutes), which makes it easier to connect by tube.
From there, the walk starts opposite Big Ben, so you’re already positioned for a classic establishing view. In practical terms, that matters because the first five minutes set your rhythm. You’ll want time early on to get your camera ready, test a couple settings, and figure out how the guide wants you to approach composition.
Big Ben framing practice: timing, angles, and keeping it sharp
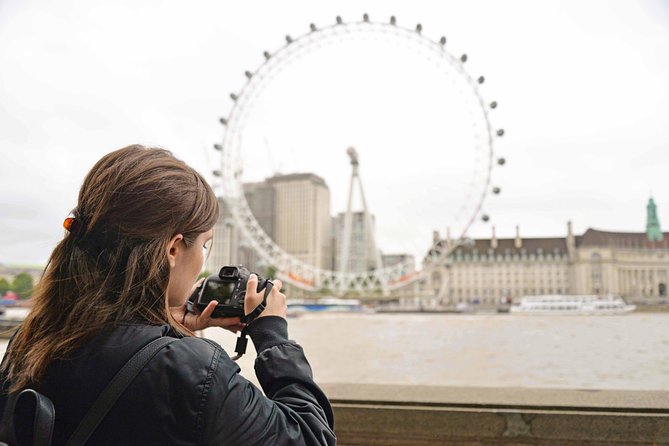
Stop: Big Ben (about 10 minutes)
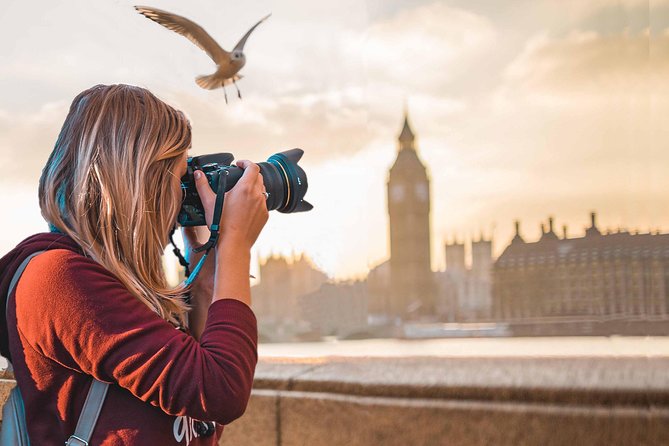
You start right by Westminster Station, opposite Big Ben. This is your warm-up shot, and also your first real lesson moment.
Big Ben is a great subject for learning because you can work in layers. You can try a close-up that emphasizes details, then step to a slightly wider angle that includes the tower and the surrounding setting. You’ll also learn how to handle the usual London challenges: bright highlights from the sky, darker areas under architectural edges, and reflections depending on recent weather.
A good photo habit here is to take a burst, then stop and evaluate. Are the vertical lines staying straight? Is the tower sharp while the background softens? Are you exposing for the stone, or for the bright sky? With only a short time window, those quick checks are where coaching makes the biggest difference.
London Eye and the Thames: using reflections and depth
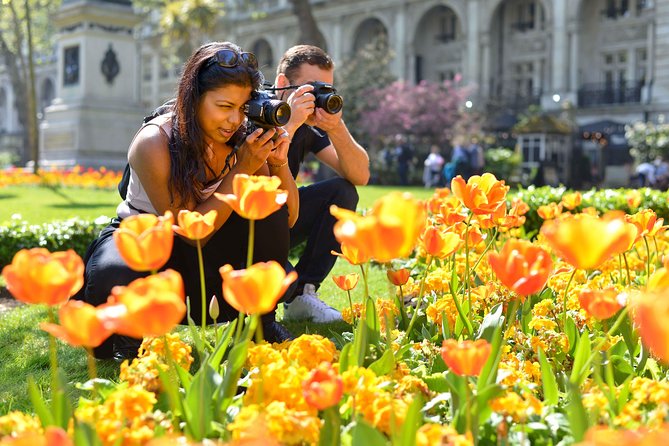
Stop: London Eye (about 20 minutes)
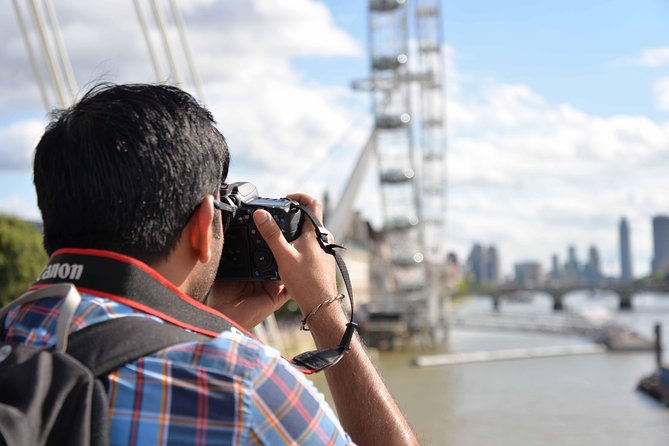
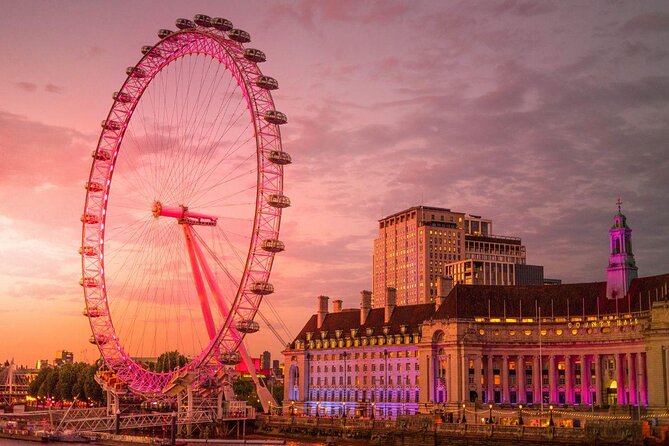
Next you walk past the London Eye, Europe’s tall cantilever observation wheel and one of the most photographed attractions in the city. The key advantage here is context. The London Eye sits beside the River Thames, which gives you a natural way to add depth to your images.
This is where you can experiment with:
- foreground elements versus “pure” skyline shots
- river reflections versus skyline contrast
- wide shots that show scale versus tighter compositions that isolate the ferris wheel structure
Even if you’re shooting on a phone, this kind of stop is useful. You get time to adjust how much of the Thames you include, and how you balance brightness between the wheel, the sky, and the water.
The guide’s role is to help you stop guessing. Instead of “take a nice picture,” you get concrete advice about what to change and why, so you can recreate success when the light shifts.
Also on in London, no fuss
- Professional Photoshoot in London Photographer★ 5.0 · 102 reviews
- Private landmarks photoshoot for families and couples★ 5.0 · 92 reviews
- Professional Private Photoshoot in London★ 5.0 · 63 reviews
- 30 Major London Attractions Walking Tour With Photos★ 4.5 · 51 reviews
Millennium Bridge: turning a footbridge into a photo lesson
Stop: Millennium Bridge (about 20 minutes)
Then comes Millennium Bridge, known for its sweeping footbridge design and strong views toward the City of London and the Thames.
This stop is excellent for learning composition because the bridge naturally creates leading lines. You can use it to pull the viewer’s eye toward the skyline, or you can frame the bridge itself with the river acting as a horizontal baseline.
This is also a smart place to practice “control your edges.” Bridges and buildings can create messy frames if you shoot at the wrong angle. With coaching, you’ll likely learn faster ways to:
- keep the horizon from tilting
- avoid distracting crowds in the frame
- choose a viewpoint where the skyline looks intentional instead of random
Short photo walks can feel limiting. Here, the time is long enough to try at least two approaches, wide and more detailed, so you leave with variety.
St Paul’s Cathedral: two quieter corners for better skyline shots
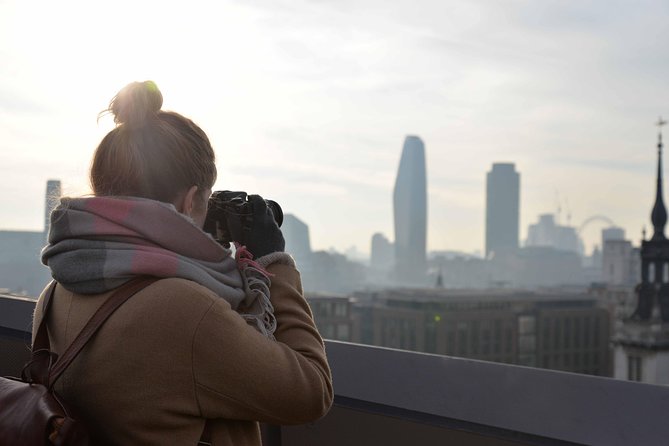
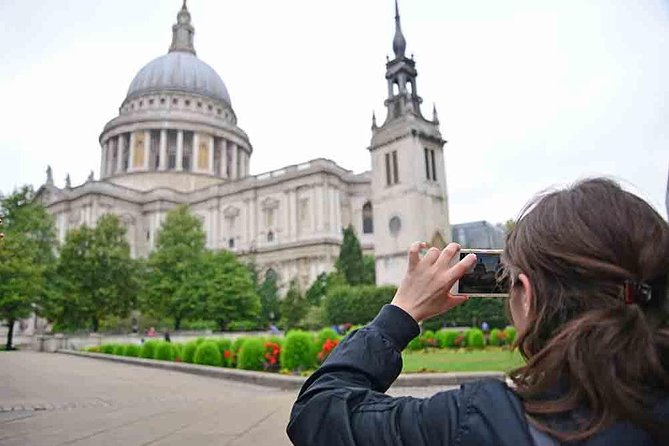
You then head to St Paul’s Cathedral and spend time taking shots from two hidden and picturesque corners around the area. The point is not just to photograph the cathedral head-on. It’s to find angles where St Paul’s works with the wider city view, instead of competing with it.
St Paul’s is a perfect subject for a coaching moment because it rewards careful framing. You can emphasize the dome and height, or you can use nearby elements to create a sense of place. The guide’s job is to help you see the “best view” that isn’t obvious at street level, where most people stop.
This is also the part of the tour where you should try to slow down. Take your first shot, then adjust composition slightly. Try one change that affects structure, like moving up or down a step, and another change that affects exposure. If you’re learning camera settings, St Paul’s gives you plenty of edges and texture to judge whether your exposure and focus are truly working.
Tower Bridge: the final big win before you head for coffee
Stop: Tower Bridge (about 30 minutes)
The tour finishes at Tower Bridge, and you’ll spend about 30 minutes capturing it from the most photographic angles.
Tower Bridge is one of the easiest places to take a “wow” photo, but it’s also one of the easiest places to end up with a flat, overexposed image if you don’t adjust. This extra time helps you do it right. You can try:
- a classic perspective for symmetry
- a more angled view for geometry
- framing that includes the river context and sky
Even better, you’ll be able to take a few photos, then refine what you see. With coaching, you can correct common issues quickly, like highlights blowing out on bright surfaces or vertical lines drifting when the camera is slightly tilted.
After shooting, the tour includes coffee or tea. That matters because it gives your brain a reset. You can review what you captured on your screen, and decide what you’ll keep practicing once you’re back in your hotel.
How the guide coaching works for phones and DSLRs
The teaching style is a standout part of this tour experience. The instruction focuses on camera settings, and the guide is described as patient and supportive, including for people who start with very little knowledge about their camera.
One thing I really like is that the instruction is not only for DSLR owners. The tour still gives phone shooters practical hints. That helps if you have a mixed group, or if you’ve got the mindset of, I want to learn photography, but I’m not carrying heavy gear.
If you’re bringing a DSLR, expect to spend part of the walk learning how to work with your settings so your photos look intentional, not accidental. If you’re using a smartphone, you can still improve results, mainly by thinking in terms of exposure and composition, and by understanding what your device is doing when you tap to focus or adjust brightness.
Either way, the value is that you get feedback in the moment. You are not waiting until later to realize your image is soft or too bright. You can fix the next shot immediately.
The included e-guidebook and why it matters
A lot of tours end when you end. This one continues in a useful way because you get an electronic guidebook to help you keep learning after the walk.
That’s especially helpful if your goal is growth, not just photos. You can review what you learned while it is still fresh, then try again at home when you have control over lighting, time, and locations.
It also helps you transfer the skills from London to your next travel stop. Instead of thinking, I got lucky at Tower Bridge, you start thinking, I know what settings and composition choices worked and I can apply them again.
What the time plan feels like in real life
The walking route is structured so you get regular photo breaks:
- about 10 minutes at Big Ben
- about 20 minutes at the London Eye
- about 20 minutes at Millennium Bridge
- time at St Paul’s plus the final stretch
- about 30 minutes at Tower Bridge
That mix is smart. You need quick stops to capture landmarks fast, but you also need longer windows where you can experiment. Tower Bridge gets the biggest time block, which makes sense because it’s your finale shot and you likely want a chance to refine.
The tour notes moderate physical fitness is expected. This is still a walking experience, and London sidewalks and crowds can slow you down. If you’re comfortable walking for a few hours, you should be fine.
Who this tour is best for
This works especially well if you:
- want private photo coaching instead of a general sightseeing guide
- enjoy learning camera settings and want practical instruction
- shoot with a DSLR but also want guidance that works if you hand your camera to a friend
- have a smartphone and want it to behave more like a tool you understand, not just a point-and-shoot
It’s less ideal if you want a “see everything quickly” day, or if you dislike walking even short distances. Also, if you simply want one or two quick landmark photos and do not care about technique, you might get more satisfaction from a cheaper self-guided route.
Quick packing tips so you get more out of the walk
You’ll get more out of the session if you show up ready to shoot right away. Keep it practical:
- Bring your camera strap and lens cover so you can switch without fumbling
- If you’re on a phone, clean the lens and consider steadying yourself for longer shots
- Wear shoes you trust for uneven pavement and crowds
- Expect changing light, and be ready to adjust rather than hoping one setting works all day
Should you book this private photography tour?
I’d book it if you want to leave London with photos that look like you meant them, and you want to learn how to do that while you’re standing at the real locations. The private format, the camera-focused coaching, and the included e-guidebook plus tour photos plus coffee or tea make it feel like more than just a walk.
Skip it if your budget is tight, or if you’re only after casual landmark snapshots with no interest in improving technique. In that case, London will always give you great photos on your own, but you won’t get the same coaching feedback loop.
If you do book, treat the 3.5 hours like a practice session. Ask questions, try a new setting, and take a few extra shots before you move on. That’s how you turn famous views into real skills.
FAQ
How long is the Iconic London Landmark Photography City Tour?
It runs for about 3 hours 30 minutes.
Is this tour private?
Yes. It is a private tour, and only your group participates.
What does the tour cost?
The price is $403.77 per person.
What’s included with the tour?
Included are a photography e-guidebook, tour and group photos, and coffee and/or tea.
What should I bring if I use a smartphone instead of a DSLR?
The tour is designed to be suitable for all levels, and coaching is tailored to your equipment, including smartphones.
Where do I meet and where does the tour end?
You meet at Caffè Nero, Unit B, Portcullis House, 1-2 Bridge St, London SW1A 2JH. The tour ends at Tower Bridge Rd, London SE1 2UP.
Is transport included in the price?
No. Transport fares such as subway, bus, or taxi are not included.
What is the cancellation policy?
You can cancel for a full refund up to 24 hours in advance. Within 24 hours of the start time, refunds are not available.
Latest to join the queue for London

Historical Tours, compared.
London Small Group Tour of Historical Pubs
Read our review →
Shadows of York: Ghost Walk and Horrible History.
Read our review →
A Walk Through Time: History of Liverpool Walking Tour
Read our review →
Royal Historic Pubs Walking Guided Tour in London
Read our review →
Private Group: Historical Pub Walking Tour of London
Read our review →
Best Of Liverpool Heritage, History & Culture Guided Walking Tour
Read our review →Browse the lists this tour appears in