
Reviewed · PHOTOGRAPHY SESSIONS
London Creative Photography Tour
London turns into a photo classroom in three hours. I love the small-group guide setup and the hands-on focus on street photography right where the city is busiest. With Jesus leading, you get practical lessons while you’re surrounded by London icons.
The only real drawback is the pace. You’ll do a lot of walking through crowded areas, and this tour expects moderate physical fitness, with no transportation included.
In This Review
- Key things to know before you go
- Starting at Nelson’s Column, Trafalgar Square, and the first shots
- Trafalgar to Parliament Square: Big Ben and Westminster in one continuous lesson
- Golden Jubilee Bridges to the London Eye: Thames views that change fast
- Covent Garden, Charing Cross, and the art of shooting real street moments
- Waterloo Bridge, Southbank, and Blackfriars Bridge to St Paul’s
- A hot drink near Millennium Bridge, then Southwark icons and the Tower finale
- Who this guide style works for, and what you actually learn
- Price and pacing: is $142.67 worth it for a 3-hour shoot?
- Practical tips so you leave with more keepers
- Should you book this London Creative Photography Tour?
- FAQ
- How long is the London Creative Photography Tour?
- Where does the tour start?
- Where does the tour end?
- Is this tour private?
- What languages are available?
- Is coffee or tea included?
- Do I need to bring a camera?
- What extra equipment can I try?
- Is transportation included in the price?
- What is the cancellation policy?
Key things to know before you go
- A small group with a real teacher: Jesus provides personalized attention and keeps the lessons practical.
- Landmarks plus street life: you shoot Big Ben views, then turn right around and work on street scenes.
- Thames crossings for new angles: multiple bridges mean compositions that keep changing as you move.
- Phone or camera friendly: you can learn techniques whether you shoot with your phone or a traditional camera.
- Try additional gear: you bring your own camera, but you can test newer mirrorless cameras, lenses, and accessories like tripods and filters.
- Coffee or tea included: you get a hot drink break built into the route.
Starting at Nelson’s Column, Trafalgar Square, and the first shots
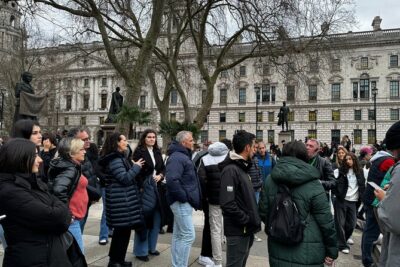
You begin at Nelson’s Column in Trafalgar Square, a smart choice because the area gives you instant variety. Right away, you’re surrounded by strong visual targets and classic street-photography backdrops. Expect to work near the United Kingdom Landseer Lions statues and around the National Gallery, where you can practice clean framing and fast composition decisions.
This first stretch is also where the tour gets you into the right mindset. You’ll get an introduction to basic photographic concepts while you walk, so you’re not just sightseeing. The goal is to help you see shapes, lines, and eye-catching contrasts that you might normally miss when you’re just rushing to the next landmark.
From here, the walk flows past Admiralty Arch and toward St Martin-in-the-Fields church, with plenty of chances to shoot tourists and Londoners weaving through the same frame. That’s the secret sauce of this beginning. You’re training your camera habits while you’re still close to transit and easy to orient yourself.
Also on in London, no fuss
Trafalgar to Parliament Square: Big Ben and Westminster in one continuous lesson
Next, you head toward the Palace of Westminster, passing a string of famous stops that are also excellent for photography practice. The Mall, Horse Guards Parade, and The Cenotaph sit along your route, so you can build images with repeating architecture and ceremonial details.
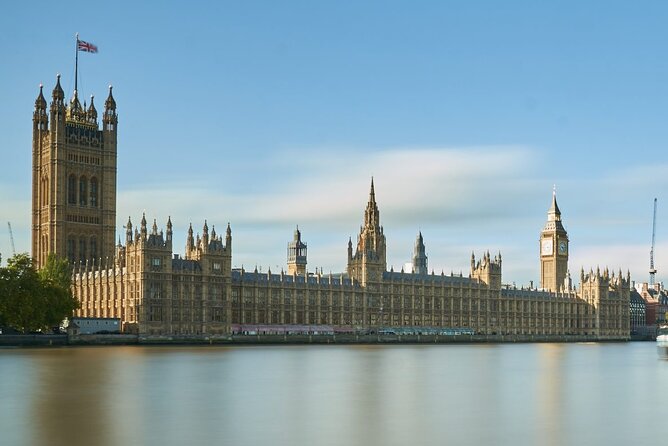
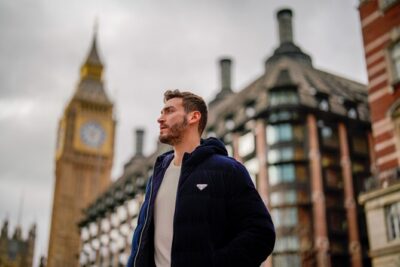
Then you arrive at Parliament Square Garden, which is a dependable place for landmark photos because it gives you a view that combines the Palace of Westminster with Big Ben and Westminster Abbey. This part of the tour is where you’ll be encouraged to improve your images with creative techniques, not just by aiming for the postcard shot.
What I like about this section for value is that it turns a single famous view into a mini workflow. You get time to settle, compose, and adjust, instead of snapping one photo and moving on. If you shoot with a phone, you’ll still benefit because the concepts behind framing, perspective, and timing apply either way.
One practical note: you’ll be among crowds in this corridor. Bring patience. If you wait ten seconds and shift your angle, you often get a cleaner shot without sacrificing the viewpoint.
Golden Jubilee Bridges to the London Eye: Thames views that change fast
The tour crosses the river Thames toward one of London’s most photographed spots, the London Eye. This is more than a scenic detour. It’s a composition upgrade. From the bridges and nearby walkways, you can create different layouts for Palace of Westminster and Big Ben, because your position keeps shifting.
Along the way you’ll pass Leake Street and continue around the Waterloo area. That matters for photography because it adds texture to your images. You’re not only shooting bright monuments, you’re also building frames with street energy and river geometry.
The Golden Jubilee Bridges area is especially useful if you want to practice leading lines. River edges, railings, and bridge structure all create built-in guidance for the viewer’s eye. Even if your camera settings are basic, you can still make stronger photos by tightening your composition.
This is also a good section to try out what the guide is emphasizing. Since the tour is built for both phone and camera users, you can compare how each device behaves for zoom, stabilization, and low-light situations. You might be surprised how much you learn just by switching approaches for a few frames.
Covent Garden, Charing Cross, and the art of shooting real street moments
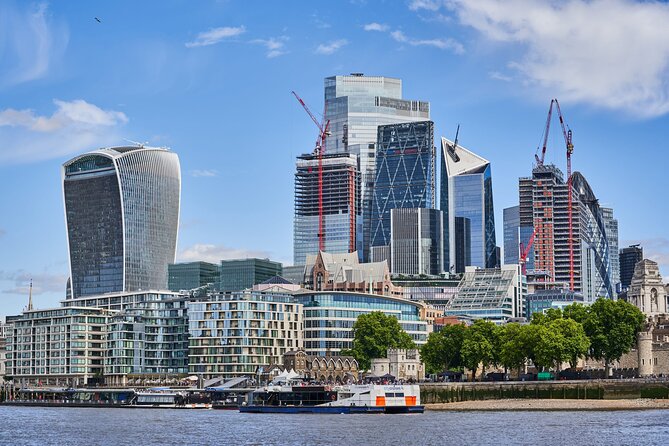
After crossing back toward Embankment and Charing Cross, the route pushes into some of London’s liveliest areas, including Covent Garden. This is where street photography becomes the main assignment.
Instead of trying to isolate one landmark, you’ll look for human scale, small moments, and background layering. Covent Garden’s streets and market-adjacent vibe are great for practicing how to frame people without turning every image into a random snapshot. You’re aiming for photographs that feel like London, not just photographs that show London.
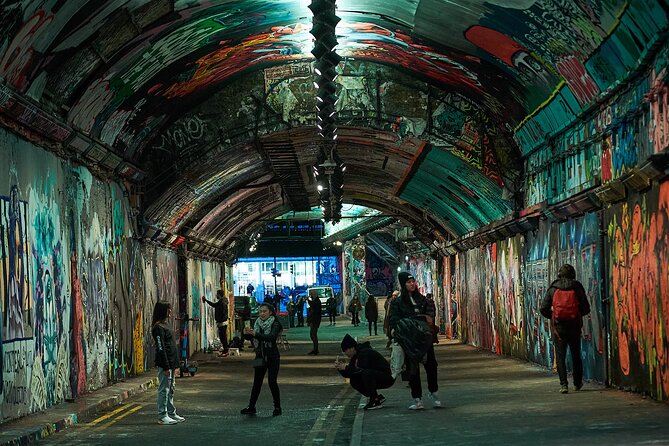
In one group experience shared by participants, the tour included extra stops such as an Underground graffiti tunnel and nearby lively districts. The broader point is that the guide’s approach can go beyond the standard checklist when timing allows, keeping things fresh for photographers who already know the big names.
If you’re a beginner, this section is the easiest place to improve quickly because street scenes offer endless chances to experiment. Try a simpler rule: pick one subject, then choose either a tighter frame or a wider one that tells the story around them.
Waterloo Bridge, Southbank, and Blackfriars Bridge to St Paul’s
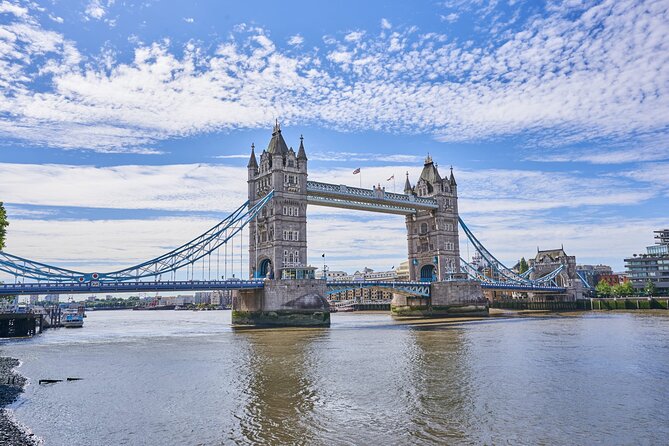
Next comes a long run along the river route south from the Waterloo Bridge area. You’ll pass the National Theatre and the Southbank, where you’ll find plenty of angles that make the Thames feel like a photo background rather than just scenery.
Then the tour moves onto Blackfriars Bridge, described for a reason. The bridge has historic 18th-century character, with iron arches and stone carvings that give you real photographic material. If you want depth in your images, this is where you get it, because the structure creates layers even before you include buildings or people.
From there, you reach St Paul’s Cathedral, one of London’s strongest silhouettes for both daytime and darker hours. St Paul’s gives you a chance to shift from street-first thinking to landmark-first thinking, then blend the two.
I like how this segment balances the tour’s two identities. You don’t abandon street practice when you reach famous architecture. Instead, you keep using the walk to practice angles and composition while still working toward big targets.
While the kettle’s on in London:
- Stonehenge, Windsor Castle, and Bath from London★ 4.5 · 18,662 reviews
- London Big Bus Hop-On Hop-Off Tour with Optional River Cruise★ 3.5 · 10,803 reviews
- London Small Group Tour of Historical Pubs★ 5.0 · 10,422 reviews
- Stonehenge, Windsor Castle and Bath with Pub Lunch in Lacock★ 4.5 · 7,402 reviews
A hot drink near Millennium Bridge, then Southwark icons and the Tower finale
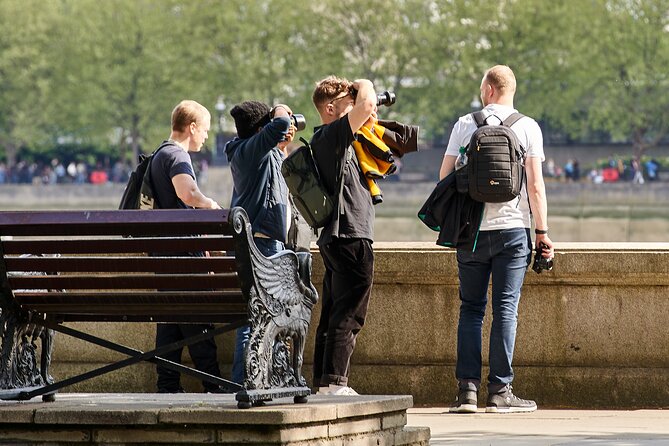
By the time you’re walking toward Millennium Bridge, there’s likely a short break for a hot drink. That pause is more than comfort. It gives you time to reset your eyes and check your photos so far. When people get serious about photography on vacation, they often forget to look back at what they just captured. A break helps you do that without falling behind.
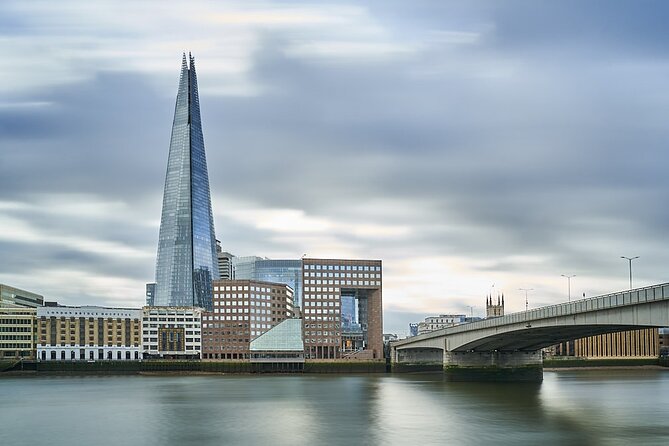
If there’s time, the route can continue toward the north riverside and toward iconic Southwark-side landmarks. You might find yourself photographing Tate Modern, Shakespeare’s Globe, London Bridge, or The Shard, all of which offer different shapes and photographic textures.
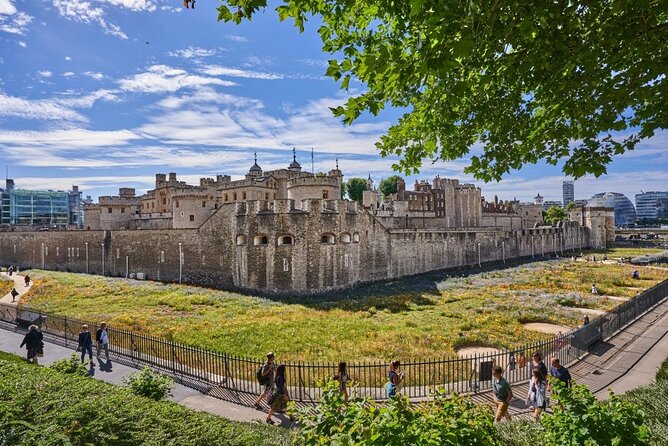
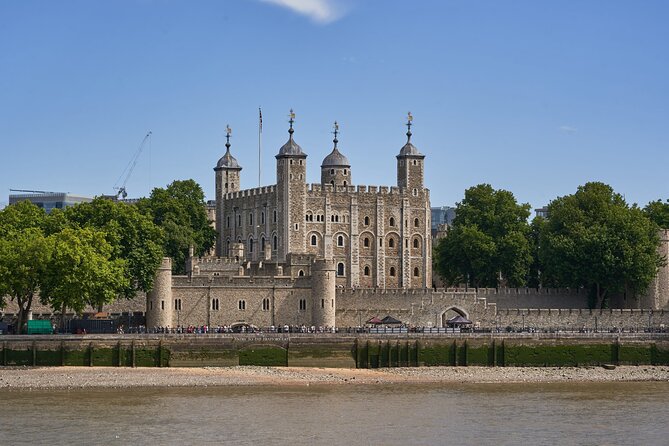
Then the tour pushes toward the finish near the HMS Belfast area and ends at the Tower of London and Tower Bridge. This final stretch is ideal for photographers who want a satisfying sweep of scenes: river, ships, fortress-like history, and the dramatic bridge perspective that ties it together visually.
It also makes the route feel complete. Early on, you start with classic grand architecture. At the end, you get a stronger sense of London’s scale and grit at the water’s edge.
Who this guide style works for, and what you actually learn
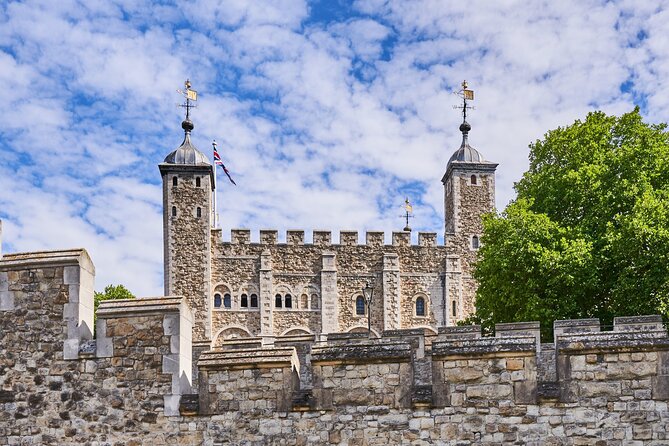
A big reason this tour earns high marks is the guide energy. Jesus is described as professional, creative, and willing to teach in a way that people can apply immediately. That matters because photography tours can sometimes drift into pure sightseeing, with the camera advice left as a vague suggestion.
Here, you get structured attention while walking. You’ll learn basic photographic concepts at the start, and you’ll receive creative techniques during the landmark sections. People also talked about a designer photography tutorial style, which suggests you might get guidance on how to think about images as finished compositions, not just tourist records.
One smart detail for practical value is the gear testing. You have to bring your own camera, but you can try additional equipment, including new generation mirrorless cameras with different lenses, plus accessories like tripods and filters. Even if you do not buy new gear, you learn how tools change your photo look. That’s often the fastest education money can buy.
And because the tour supports both phone and camera users, you don’t need to feel like you’re in the wrong place if you mostly shoot on your phone. City photography fundamentals still apply, and a guide can help you translate the idea of good framing into whatever device you’re using.
Price and pacing: is $142.67 worth it for a 3-hour shoot?
At about $142.67 per person for roughly three hours, the value comes down to what’s included and what you’re getting beyond random photo stops. Here’s the deal.
You get:
- A 3-hour guided walk with photography concepts
- Coffee and/or tea
- Small-group, private format
- English or Spanish language support
- Time to test extra equipment like mirrorless cameras, lenses, and accessories
- A route that stacks multiple landmark backdrops with street practice
Compared to a self-guided walk, the biggest value is coaching plus structure. Coaching cuts the trial-and-error time. Structure matters too, because the itinerary naturally takes you across viewpoints, especially over the Thames, so you’re not stuck shooting the same scene from one angle.
The pacing is also ambitious. You’ll likely see a lot of territory, which is great if you want results and enjoy walking. It’s less ideal if you hate crowds or prefer slow, sit-down photography sessions.
Practical tips so you leave with more keepers
You’ll get the best results if you prepare for the realities of a city photo walk.
Bring:
- A camera you’re comfortable using, plus charging extras for your phone
- Weather layers, because you’re outdoors for most of the experience
- Comfortable shoes with grip, since the route mixes famous plazas and bridge areas
Shoot strategy:
- Before you click, pause and decide what your photo is saying: subject, lines, or mood
- In landmark areas, try one wide frame for context, then one tighter frame that simplifies the scene
- In street areas, aim for consistency, like one focal style all the way through Covent Garden and Charing Cross
Also, take advantage of the gear testing if it’s available. Even a brief attempt with a different lens or tripod can teach you what changes in your photos, like sharper subject separation or improved stability.
Should you book this London Creative Photography Tour?
Book it if you want a guided route that mixes iconic London with hands-on street practice, and you enjoy learning while you walk. It’s especially a strong fit if you want personalized feedback in a small group and you like the idea of testing additional camera gear, not just hearing tips.
Skip it if you want a relaxed stroll, or if crowds and constant walking stress you out. The route is packed with major sights, and the point is to make you shoot, not to linger for long pauses.
If you’re the type who likes to come home with photos you actually feel proud of, this tour’s blend of landmarks, Thames viewpoints, and teacher-led technique is a solid use of your time in London.
FAQ
How long is the London Creative Photography Tour?
The tour lasts about 3 hours.
Where does the tour start?
The meeting point is Nelson’s Column, A400 Trafalgar Square, London WC2N 5DS, UK.
Where does the tour end?
The tour ends in a different location. The route finishes near the Tower of London and Tower Bridge.
Is this tour private?
Yes. It’s private, and only your group will participate.
What languages are available?
You can choose English or Spanish.
Is coffee or tea included?
Yes, coffee and/or tea is included.
Do I need to bring a camera?
Yes, you need to bring your own camera. You can also try/test additional equipment during the tour.
What extra equipment can I try?
You can test new generation mirrorless cameras with different lenses and accessories such as tripods and filters.
Is transportation included in the price?
No. No transportation is included, such as taxis or pickups.
What is the cancellation policy?
You can cancel for free up to 24 hours in advance for a full refund. If you cancel less than 24 hours before the start time, the amount paid is not refunded.
Latest to join the queue for London

Photography Sessions, compared.
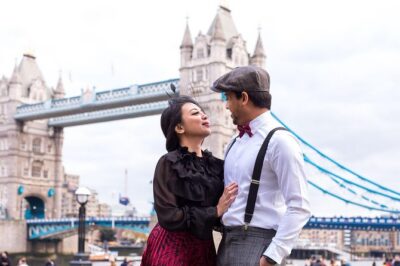
Professional Photoshoot in London Photographer
Read our review →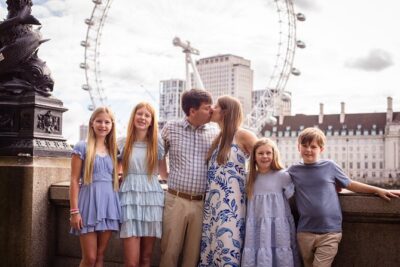
Private landmarks photoshoot for families and couples
Read our review →
30 Major London Attractions Walking Tour With Photos
Read our review →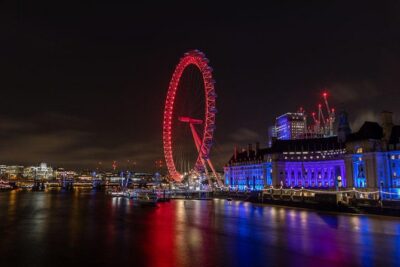
Private Tour: Night Photography Tour in London
Read our review →
Browse the lists this tour appears in